

Appearance
Installation
Pianola works as a Laravel application package. This page will explain how to install the Laravel Pianola package in a fresh Laravel application.
If you have already been through the documentation but need a quick step-by-step reminder, you can jump to the summary at the end of the page.
Prerequisites
A decent working knowledge of the following technologies is needed to develop a Pianola application:
- php 8.1
- the Laravel framework
- Composer, for package installation
- git or similar, for version control
- MySQL or similar, for databases
Given that the front-end is "pre-baked" and served from a CDN, knowledge of JavaScript is not a prerequisite.
Laravel Installation
This documentation will not cover the basics of Laravel itself, as the framework's documentation is excellent.
Laracasts is an excellent resource to learn about all the technologies in the Laravel ecosystem. Onramp.dev is another good learning resource, which puts together a curated list of both free and paid courses on various Laravel-related topics.
The installation and setup of Laravel on a local machine is documented here.
Please note that the Pianola package requires php 8.1, so you need to make sure that this version is installed on the local dev environment.
The simplest way to create a Laravel application is to download the Laravel installer via Composer, as described here.
If you use this approach, simply go to the folder where you want the project repository to live, and create a new Laravel project:
bash
laravel new [projectName]cd into the project, initialise git and make a first commit:
bash
cd [projectName]
git init
git add .
git commit -m ‘initial commit’
Also make sure that you have initialised a database on the local machine for the app and that you have added the local database path and credentials to the .env file:
DB_CONNECTION=mysql
DB_HOST=127.0.0.1
DB_PORT=3306
DB_DATABASE=[local_dev_database_name]
DB_USERNAME=root
DB_PASSWORD=
Pianola Package Installation
As Pianola is not a public Composer package available on Packagist, the following repository source needs to be added to composer.json:
json
"repositories": [
    {
        "type": "composer",
        "url": "https://composer.pianola.io"
    }
],
You can now install the package with the following Composer install command:
bash
composer require ballet-mecanique/pianola-laravelDuring the installation, you will be asked for a user name and password. These will be supplied to you separately.
Once the password has been entered successfully, Composer will invite you to save the credentials under ~/.composer/auth.json, which saves you from needing to enter the credentials on subsequent installations or upgrades.
Pianola Install Command
Once the package is downloaded, you can enter the following artisan command to install the necessary Pianola files and execute the table migrations needed to run a Pianola app:
bash
php artisan pianola:installDuring the installation process, the CLI will ask you for your name, e-mail and a default password. The credentials you enter here will create the first user in the database, and you can use them to log into the template application.
Once the installation step is finished, please remove the default 'welcome' route from routes/web.php, and add the Pianola route macro at the end of the document:
php
//remove this snippet

Route::get('/', function () {
    return view('welcome');
});

//and add the following at the end
Route::pianola();
You should now have a fully functioning Pianola app installed, which can be started by running a server for the application:
bash
php artisan serveThe application can then be opened by cmd-clicking on the local URL provided by the CLI (typically http://127.0.0.1:8000).
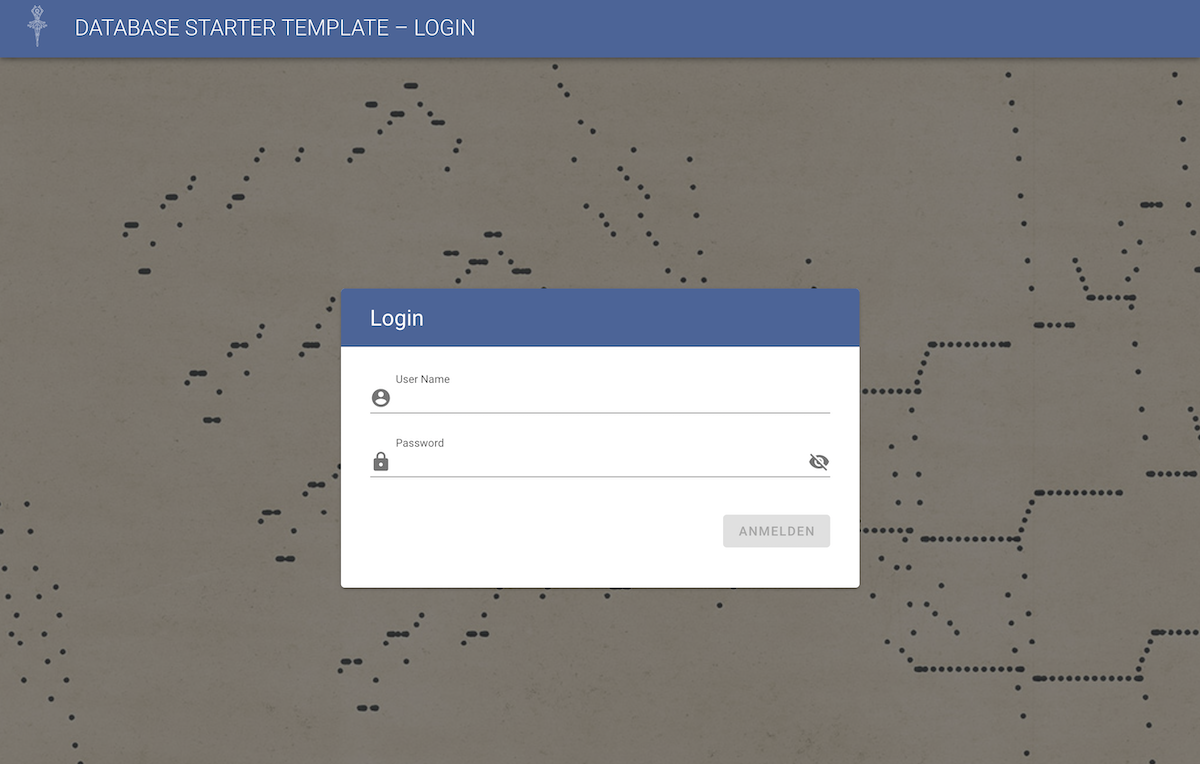
You should now receive a log-in screen, where you can log in with the credentials supplied above:
Once logged in, you should see a template application with a Contacts and a Companies module, pre-seeded with 10 fake records each:
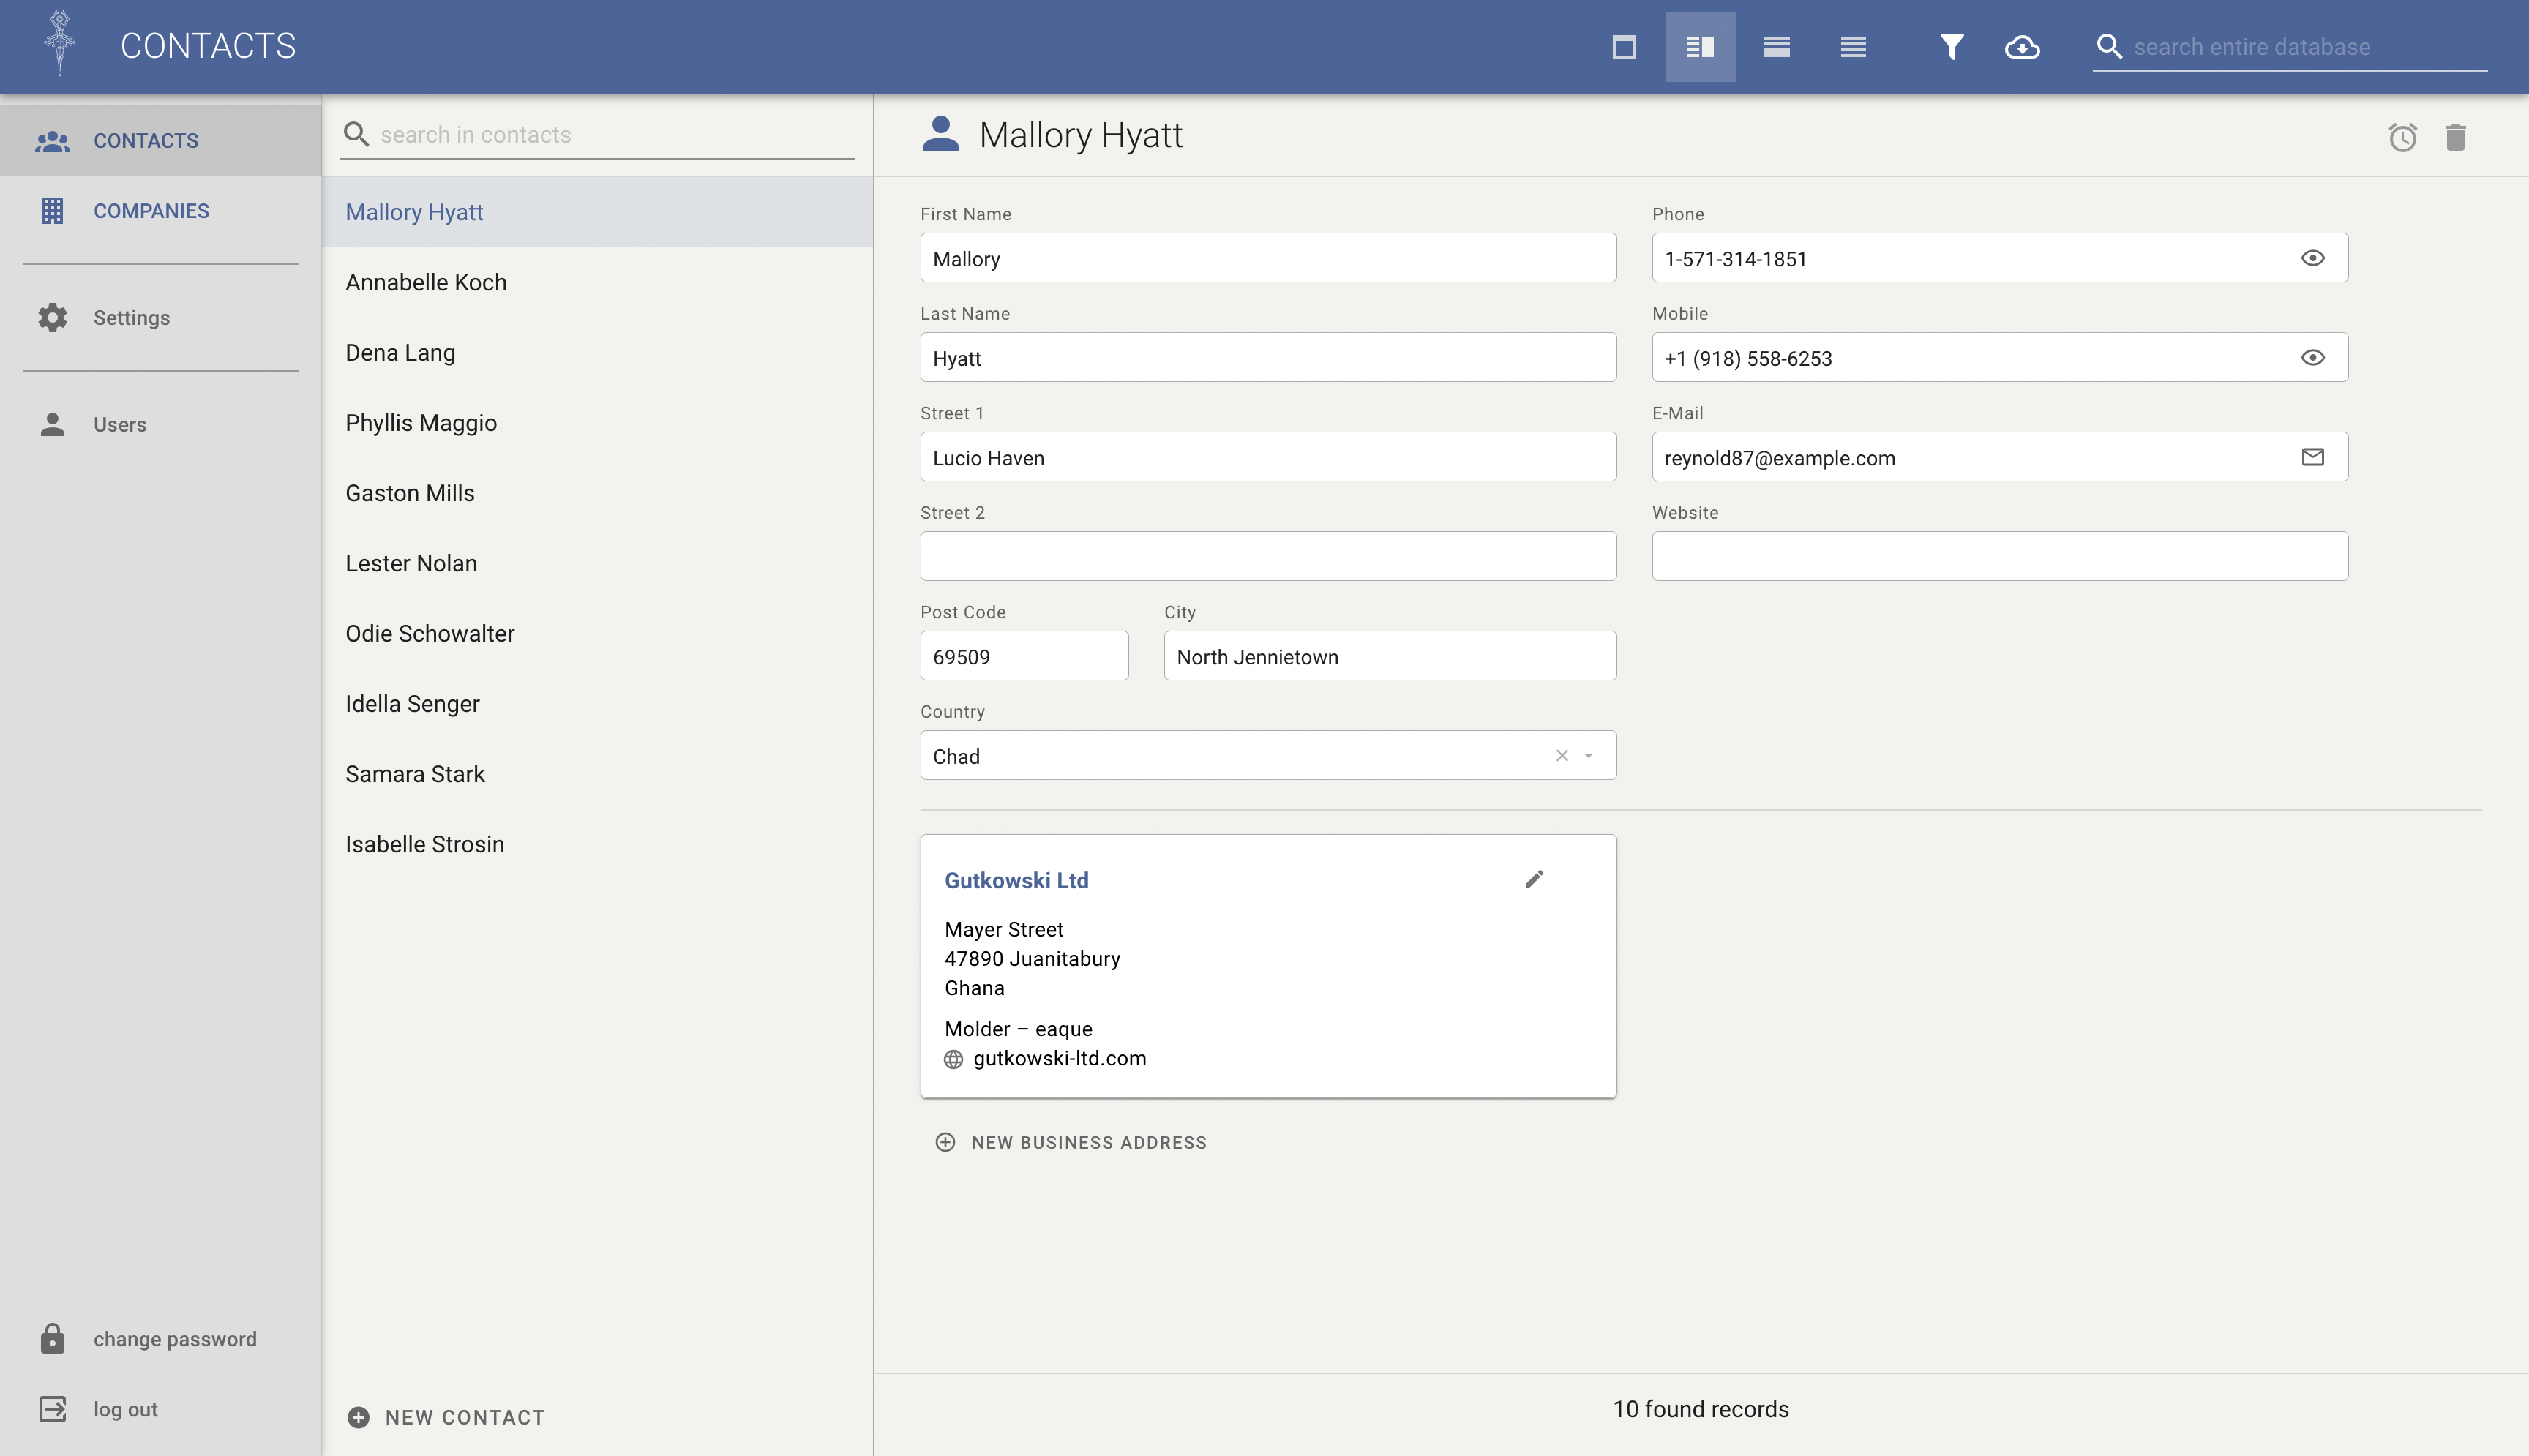
Well done! Your Pianola application is now installed and running, and ready to be configured.
Quick Summary
- Install a fresh Laravel app and link it to a database.
- Add the following to
composer.json:
json
"repositories": [
    {
        "type": "composer",
        "url": "https://composer.pianola.io"
    }
],- Execute
composer require ballet-mecanique/pianola-laravel. - Execute
php artisan pianola:install. - Remove the following from 'routes/web.php':
php
Route::get('/', function () {
    return view('welcome');
});- Add the following at the end of 'routes/web.php':
php
Route::pianola();- Spin up a server with
php artisan serve - Enjoy your Pianola application.